Tuesday, July 9, 2013

How to create LVM partition in command mode

LVM partition in command mode


LVM is most popular porcess in HDD partition. In LVM partition has a great facitilities. When you extend your partition using LVM, then without data loss you may extend any partition if you have free space. The free space will be same HDD or any other HDD. You may add or extend with your partition without data loss. As a system admin you have to know LVM partition.

If you have to maintain a mail server, your /var is 1TB. In a certain time (may be 5 - 8 years later, it depends on your user) your /var/log/mail will be fill up 1 TB. Then what will you do?

Whatever, to ignore your problem, please follow below step:

# fdisk -cul /dev/sda [to see hdd status]

# fdisk -cu /dev/sda [hdd partition command]

Command (m for help): n

Command action

e extended

p primary partition (1-4)

p

Partition number (1-4): 1

First cylinder (1-1044, default 1):                   [blank enter]


Monday, July 8, 2013

How to configure nfs


NFS Configuration Command


NFS = Network File System

Share File or Directory/Folder in Server PC:

In Server PC:

# mkdir /test20
# vim /etc/exports
  test/20    192.168.0.43(rw)        [Only this ip will get shared]
  or
  test/20    192.168.0.0/24(rw)        [all ip will get shared under this network]
  or
  test/20    example.com(rw)            [all ip will get shared under this domain]
  :wq!
# service nfs restart                                                        [service will be restart. N.B: some service will 
                                                                                       failed, need second time this command]
# service nfs restart
# chkconfig nfs on
# showmount -e localhost

Thursday, July 4, 2013

How to create ISO file using command line.

Command of ISO Making


You may use this command for Redhat Linux 6.X version/CentOS 6.X/. 

How to make ISO from cd ROM, please follow the steps:

$ su                                                                [super user]
password:                                                      [type your root password]
# dd if=/dev/cdrom of=/xyz.iso                    [iso command]

After complete ISO making, go to Computer > Filesystem > xyz.iso. Now you may use this ISO where you lile.

dd= Destroyer of Disks
if= input file
of= output file 

How to make ISO from hard drive, please follow the steps:

$ su -                                                              [super user]
password:                                                      [type your root password]
# cd /home/guest/rony/Desktop                    [go to present user desktop]
# mkisofs -o etc.iso /etc                                [ISO making command]

After complete ISO making, please cheak your desktop. A etc.ios file are available in your desktop. Now you may use this ISO where you lile.

Tuesday, June 11, 2013

What is Navigation of /(root) directory

What is under /(root) director

It is very important to know which folder/directory create under /(root) directory. Because when you install any software, add a external/usb storage device, DVD ROM or any server install you have to know where they install, or mount, documentary root or any other.

Monday, June 10, 2013

How to Red Hat 6 RHEL Installation

Red Hat 6 RHEL Installation

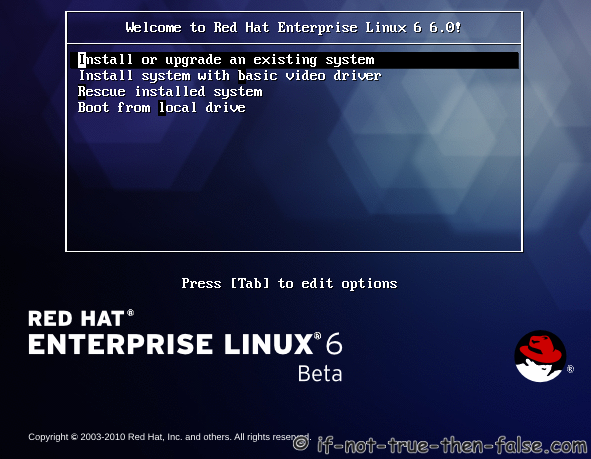
1. Select Install or upgrade an existing system option on Grub Menu

1. Select Install or upgrade an existing system option on Grub Menu

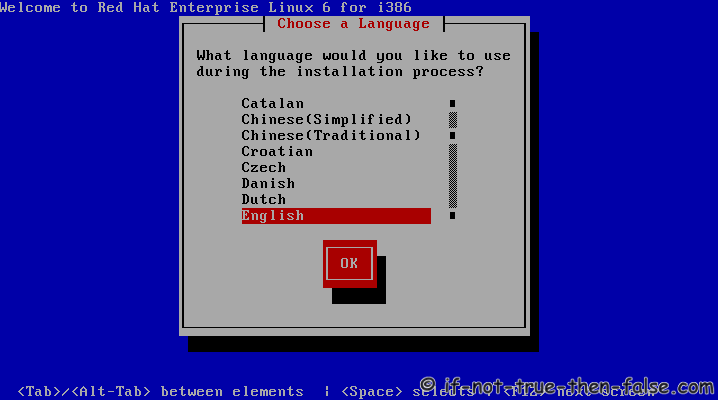
2. Choose a language

2. Choose a language

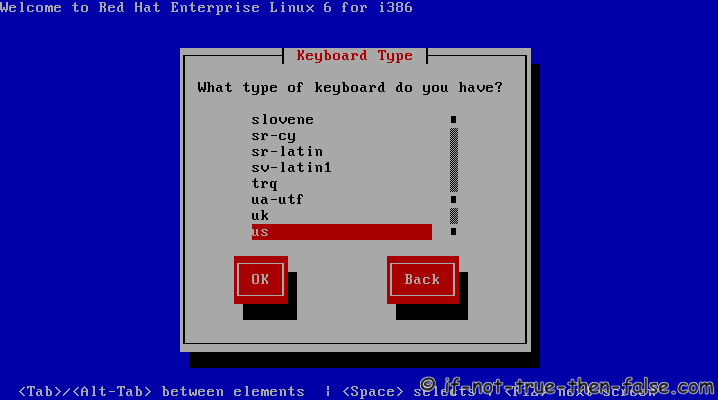
3. Choose a keyboard type

3. Choose a keyboard type

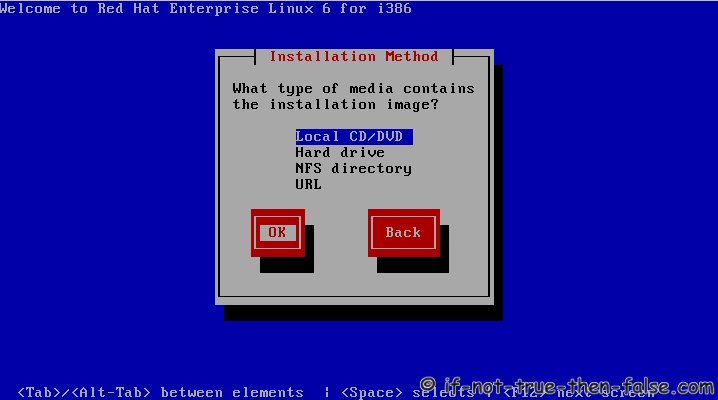
4. Choose a installation media

4. Choose a installation media

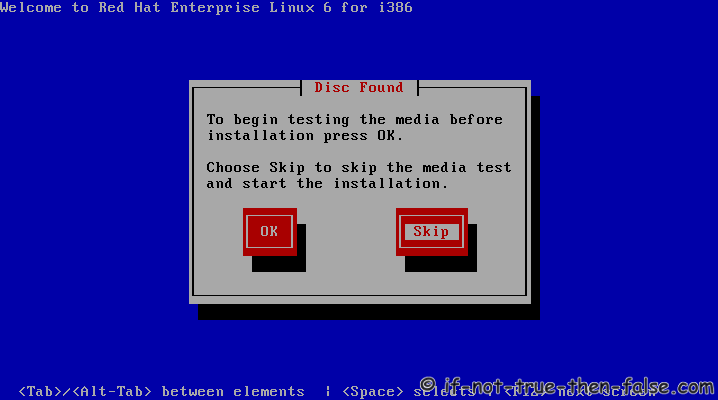
5. Skip DVD media test (or select media test, if you want to test installation media before installation)

5. Skip DVD media test (or select media test, if you want to test installation media before installation)

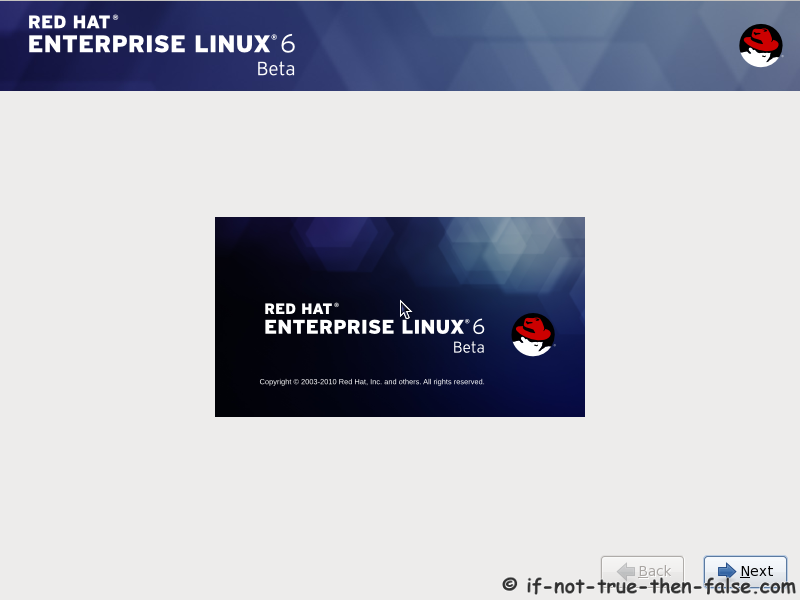
6. Red Hat 6 graphical installer starts, select next

6. Red Hat 6 graphical installer starts, select next

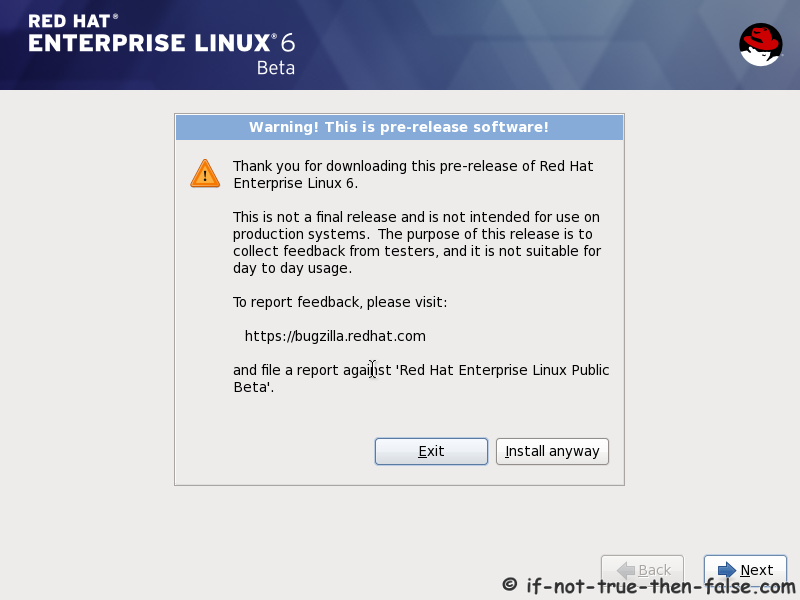
7. Accepct Pre-Release Installation

7. Accepct Pre-Release Installation

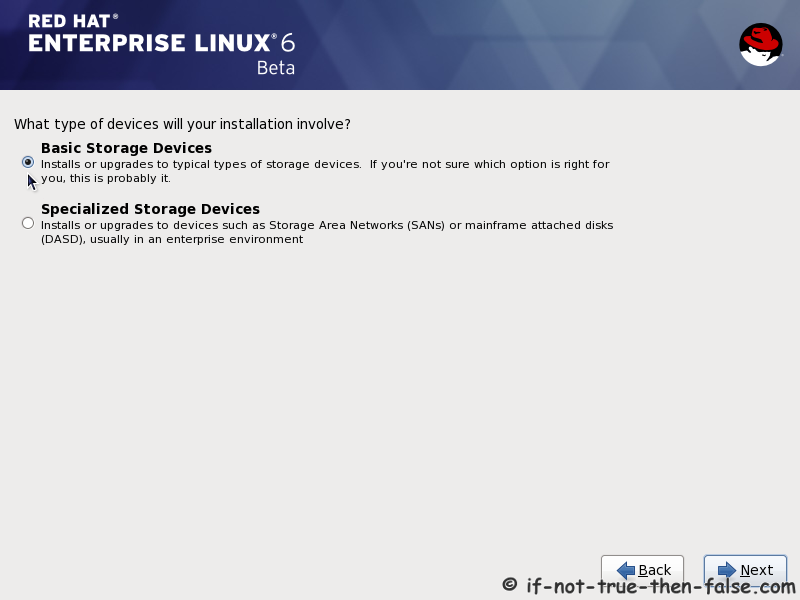
8. Select storage devices

8. Select storage devices

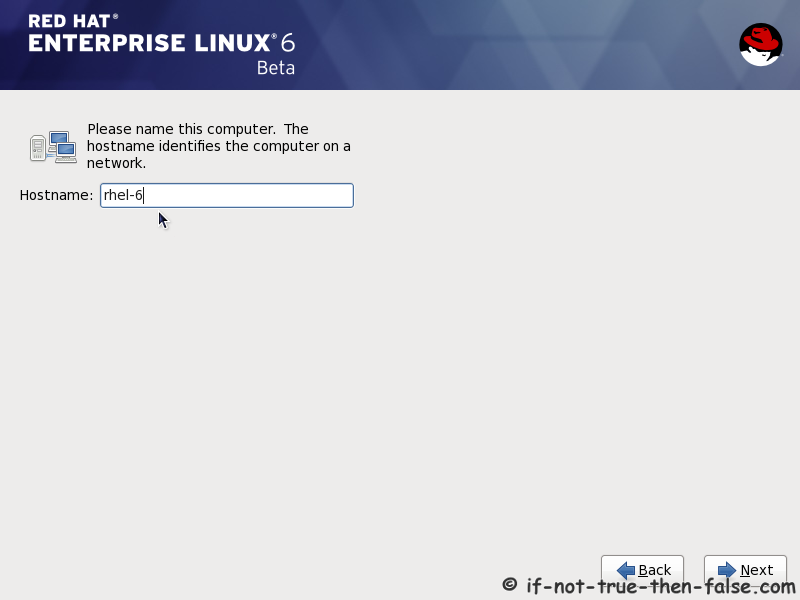
9. Insert computer name

9. Insert computer name

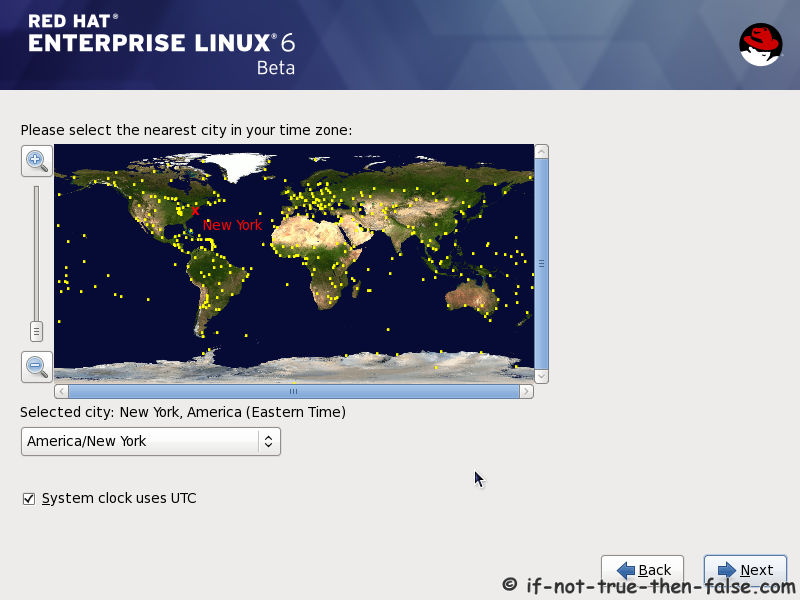
10. Select time zone

10. Select time zone

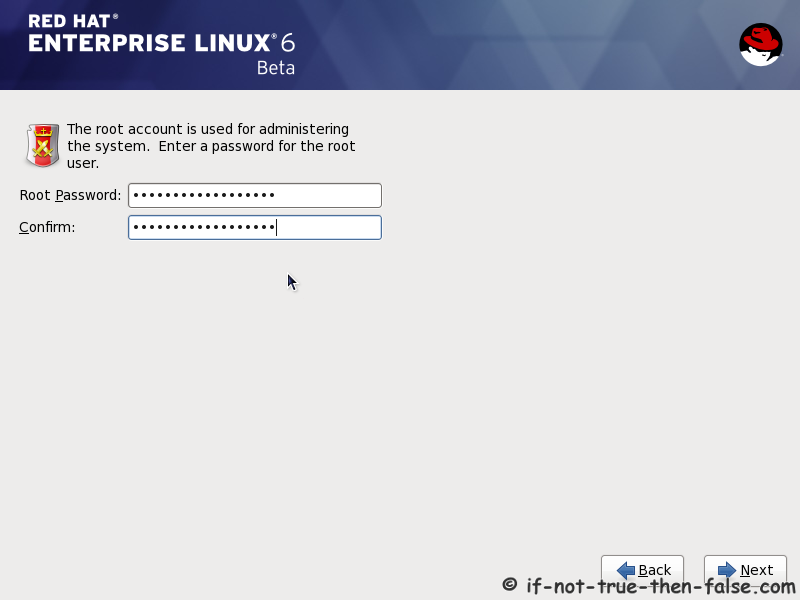
11. Enter a password for root user

11. Enter a password for root user

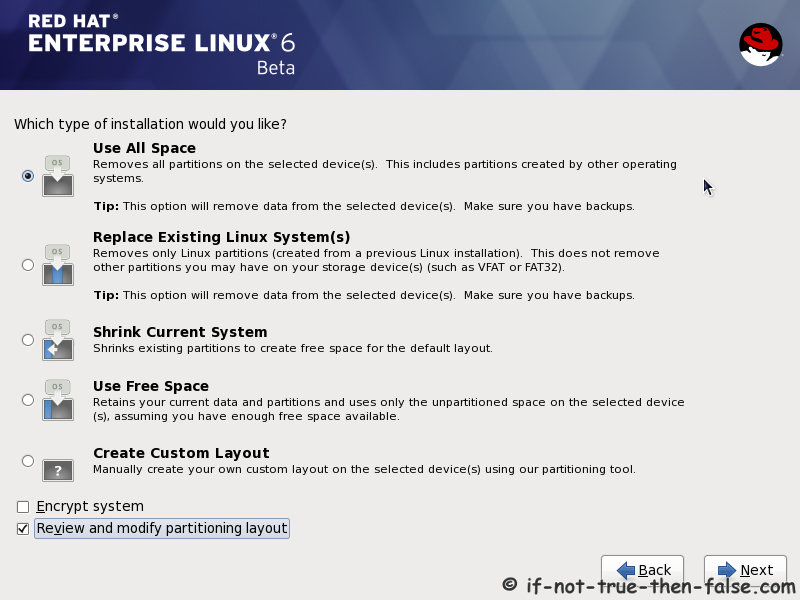
12. Select type of installation

Read every options info carefully. And select encrypting if needed and option to review and modify partition layout.
12. Select type of installation

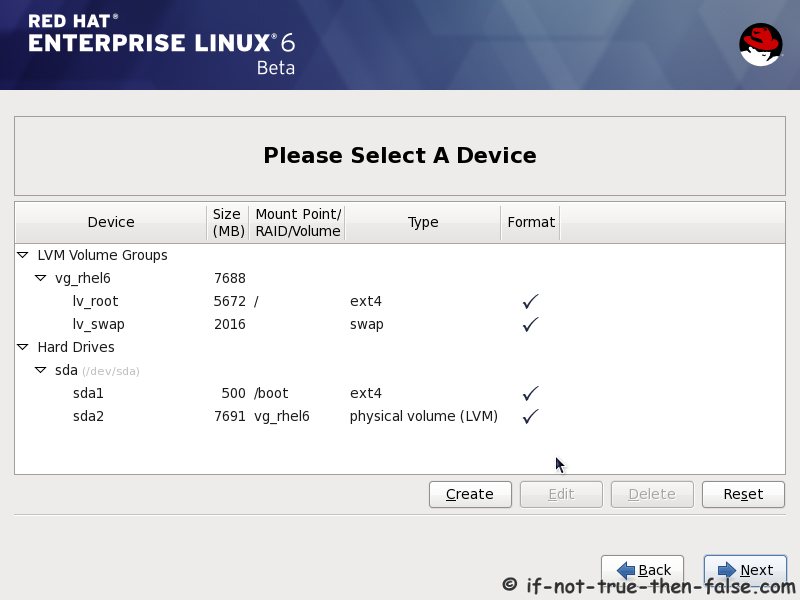
13. Review partition layout

Modify if needed. Default setup with ext4 and LVM looks good for desktop machine.
13. Review partition layout and modify if needed

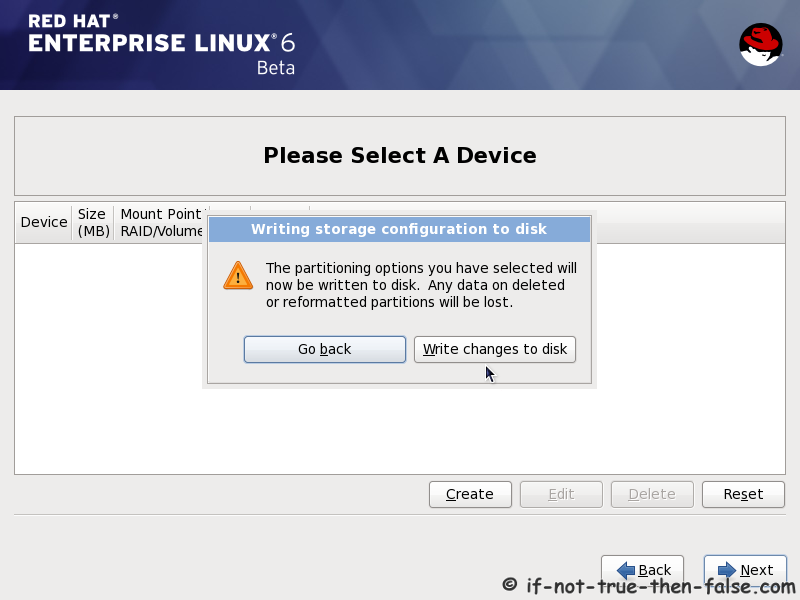
14. Accept write changes to disc

14. Accept write changes to disc

15. Writing changes (creating partitions) to disc

15. Writing changes (creating partitions) to disc

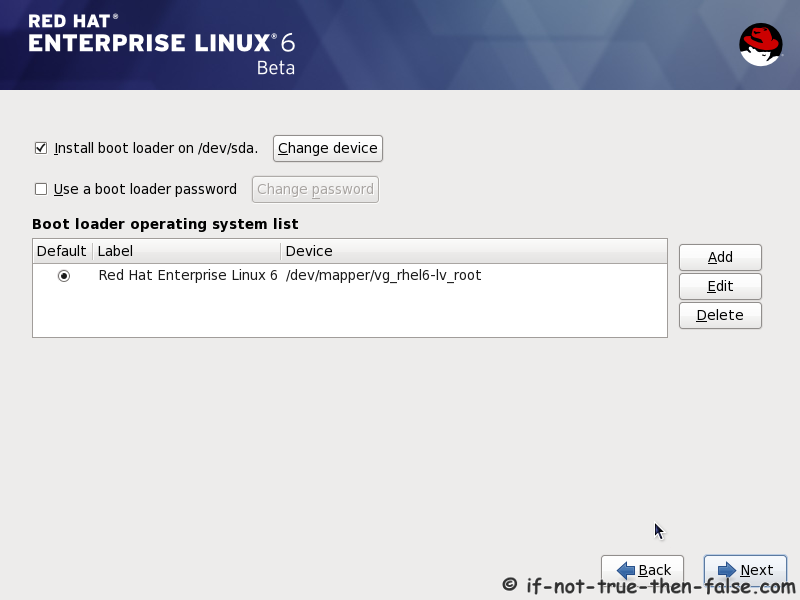
16. Configure boot loader options

Select device to install bootloader and check/create boot loader operating system list.
16. Configure boot loader options

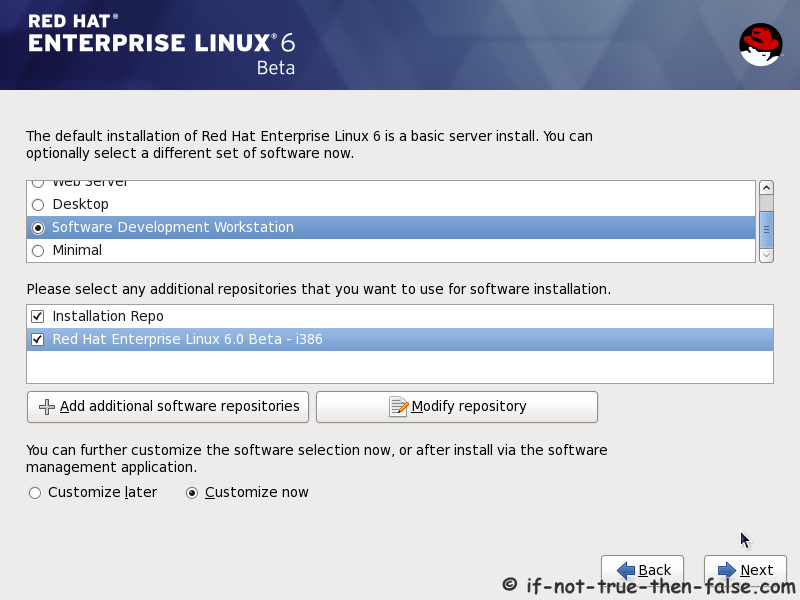
17. Select softwares to install and enable repositories

This case we select Software Development Workstation and enable Red Hat Enterprise Linux 6.0 Beta Repository and select Customize now.
17. Select softwares to install and enable repositories

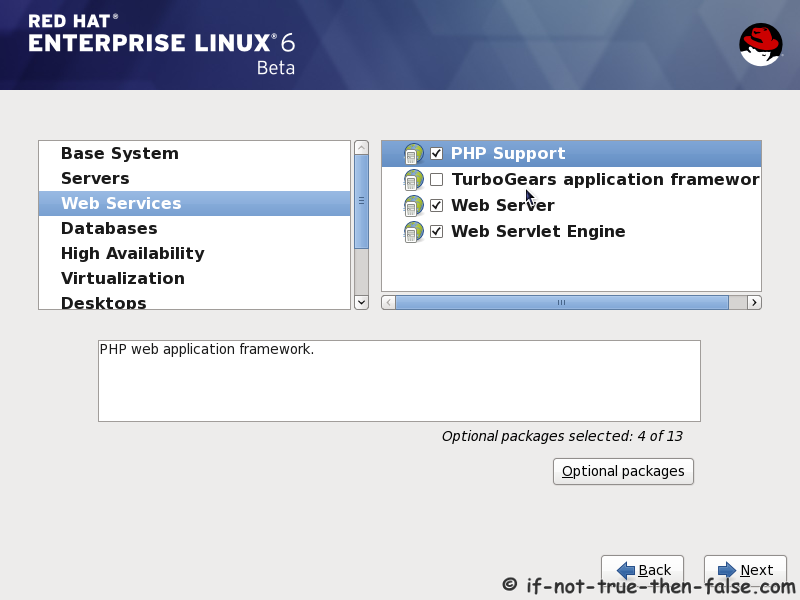
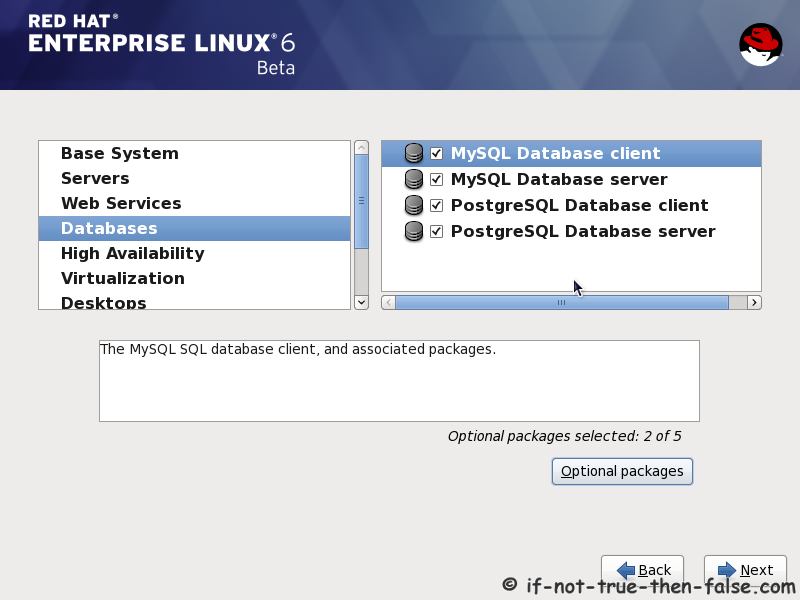
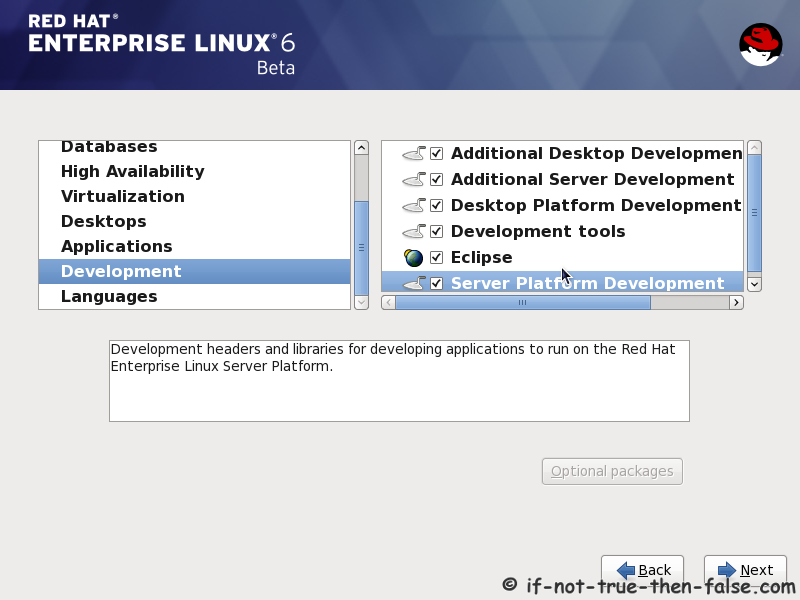
18. Customize package selection

Select PHP and Web Server to installation.
18. Customize package selection - Select PHP and Web Server to installation
Select MySQL and PostgreSQL Databases.
18. Customize package selection - Select MySQL and PostgreSQL Databases
Select set of Development tools like Eclipse IDE.
18. Customize package selection - Select set of Development tools like Eclipse IDE

19. Checking dependencies for installation

19. Checking dependencies for installation

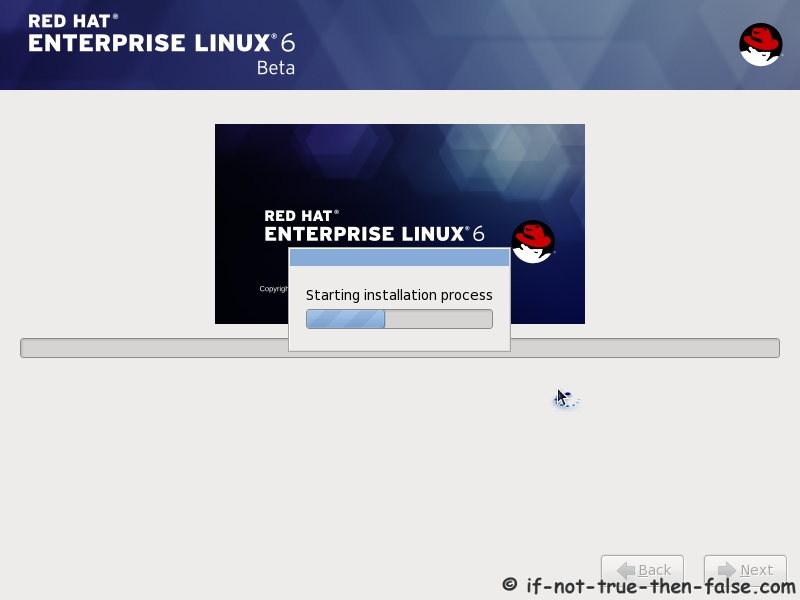
20. Starting installation process

20. Starting installation process

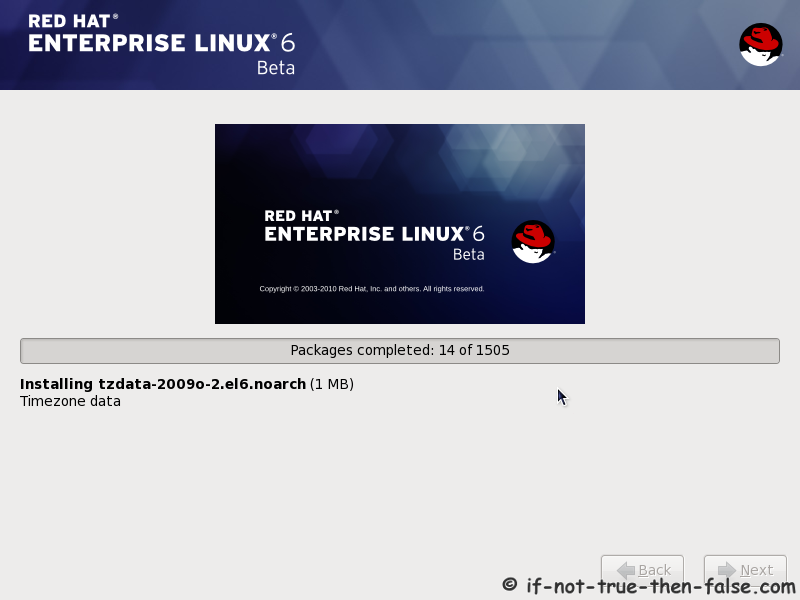
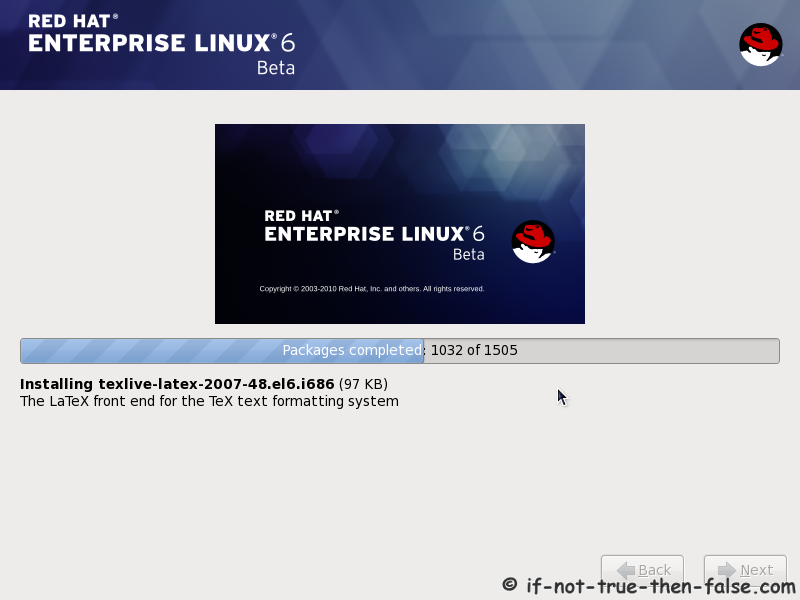
21. Installing packages

21. Installing packages 1
21. Installing packages 2

22. Installation is complete

Click reboot computer and remove installation media.
22. Installation is complete - Click reboot computer and remove installation media

Red Hat 6 RHEL Finishing Installation

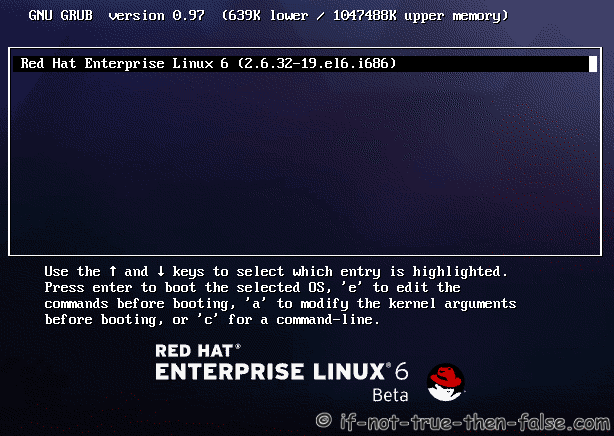
23. Selecting RHEL 6 from grub

23. Selecting RHEL 6 from grub

24. Booting Red Hat 6

24. Booting Red Hat 6

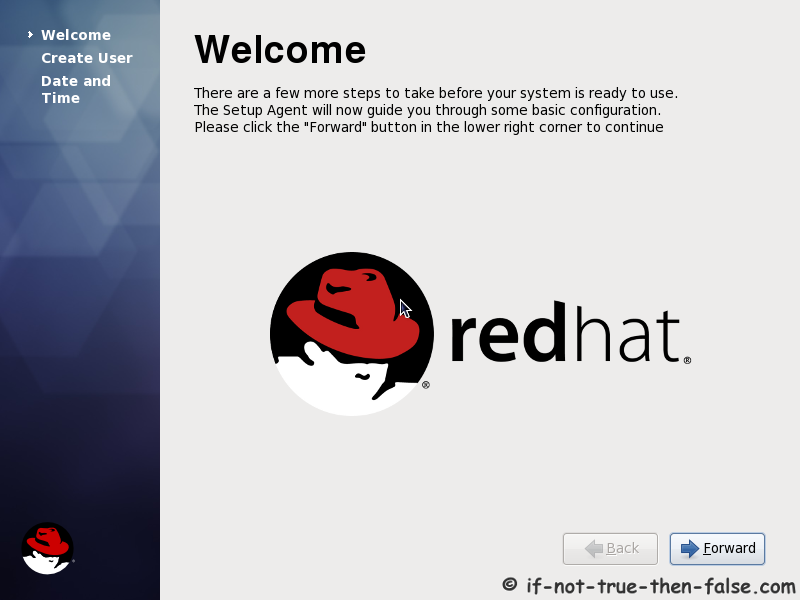
25. Red Hat 6 Welcome screen

25. Red Hat 6 Welcome screen

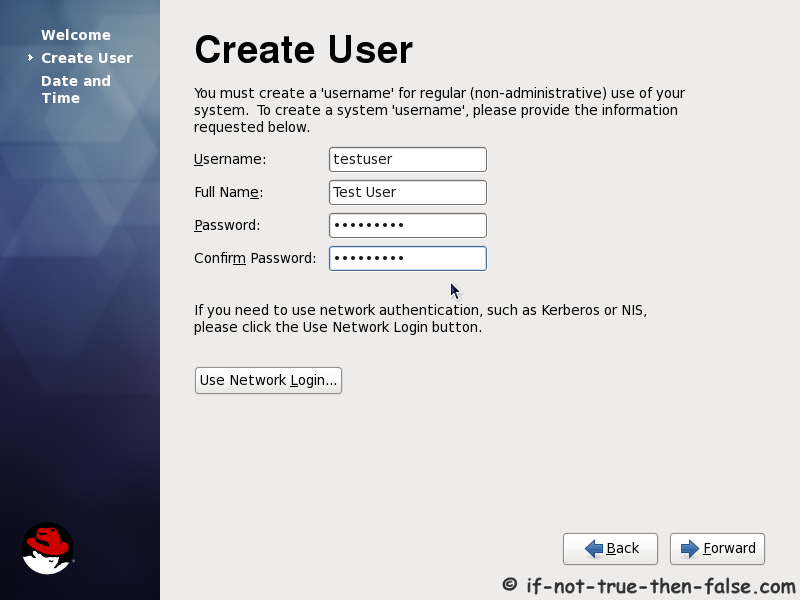
26. Create normal user

26. Create normal user

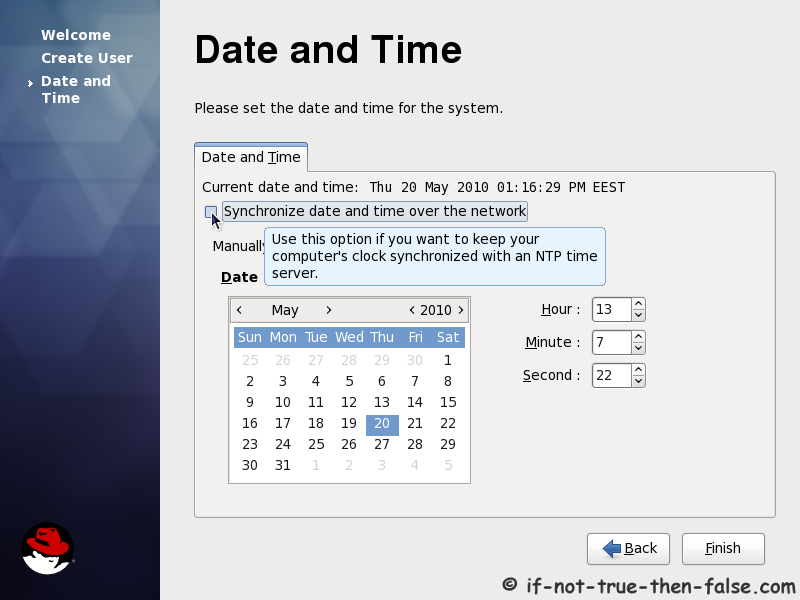
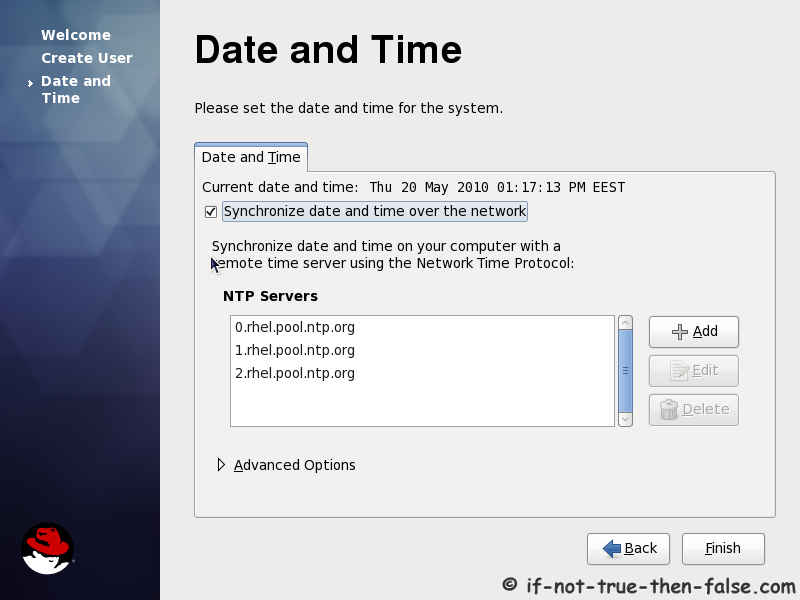
27. Setup date and time and keep up-to-date with NTP

27. Setup date and time
27. Setup date and time and keep up-to-date with NTP

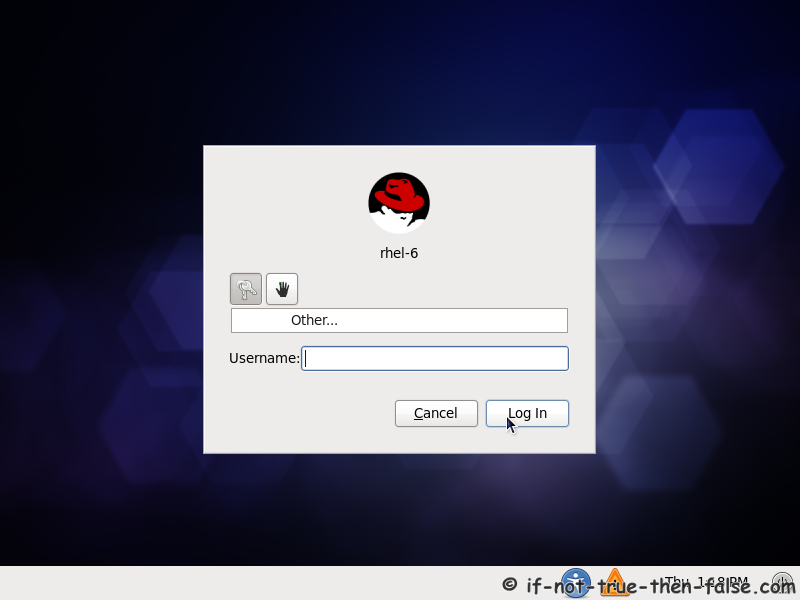
28. Login Red Hat 6 Gnome Desktop

28. Login Red Hat 6 Gnome Desktop

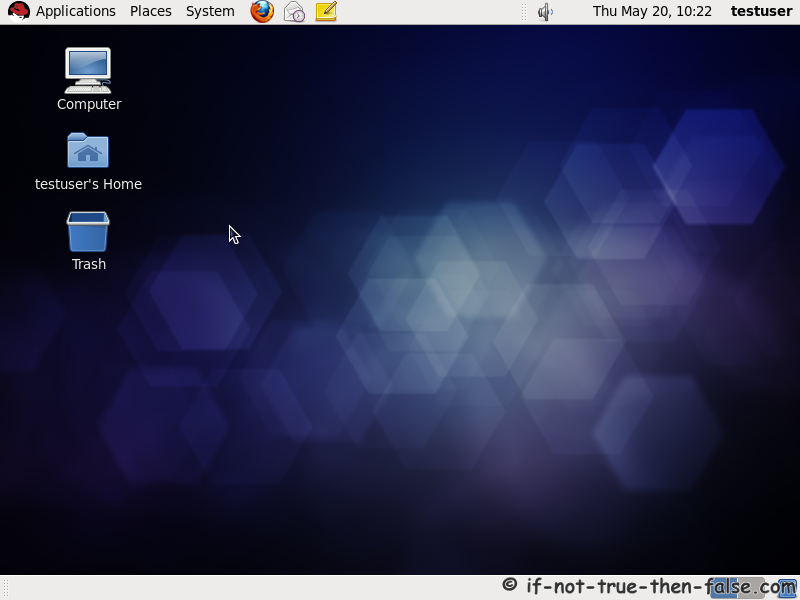
29. Red Hat (RHEL) 6 Gnome Desktop, empty and default look

29. Red Hat (RHEL) 6 Gnome Desktop, empty and default look

What is Linux Kernel

 Linux Kerne

Steps

  1. 1 Download the latest version of the linux kernel from http://www.kernel.org.
  2. 2 Be sure to download the full source by clicking on the "F" where it says "The latest stable version is..." otherwise youll just download the patch, which is used when your current kernel is a patch number lower. An example of this would be 3.4.4.1>>3.4.4.2
  3. 3 Make sure you have downloaded the complete source code, and not a patch or change log.
  4. 4 Once downloaded, open a terminal.

GNOME VS KDE

Difference between GNOME & KDE


‘Gnome’ and ‘KDE’ are among the oldest and the most widely used desktop environments in GNU/Linux. They’re both basically trying to achieve the same goal — creation of a fully functional and an easy to use desktop, interestingly though, by based on two entirely different ideals.
Gnome tries to follow the ‘philosophy’ of ‘Unix’ (another operating system that ‘inspired’ the initial development of ‘GNU/Linux’), ‘do one thing and do it well’, thus their applications are extremely simple and don’t have a lot of configuration options (very similar to Apple’s Mac OS’s UI guidelines).
KDE on the other hand, comes with a lot of options and features so the users are given the ‘freedom’ to interact and customize applications the way they want. With the version ’4.0′, KDE too underwent a lot of UI changes and as a result nowadays it looks a lot simpler than how it used to be (when comparing with 3.0 or latter versions for instance).
It might seem that they both belong to the same ‘group’ of people, sharing the same belief system. I may have extracted the ‘wrong bits’ from my experiences, but I think that both Gnome & KDE developers disagree with each other, fundamentally.